

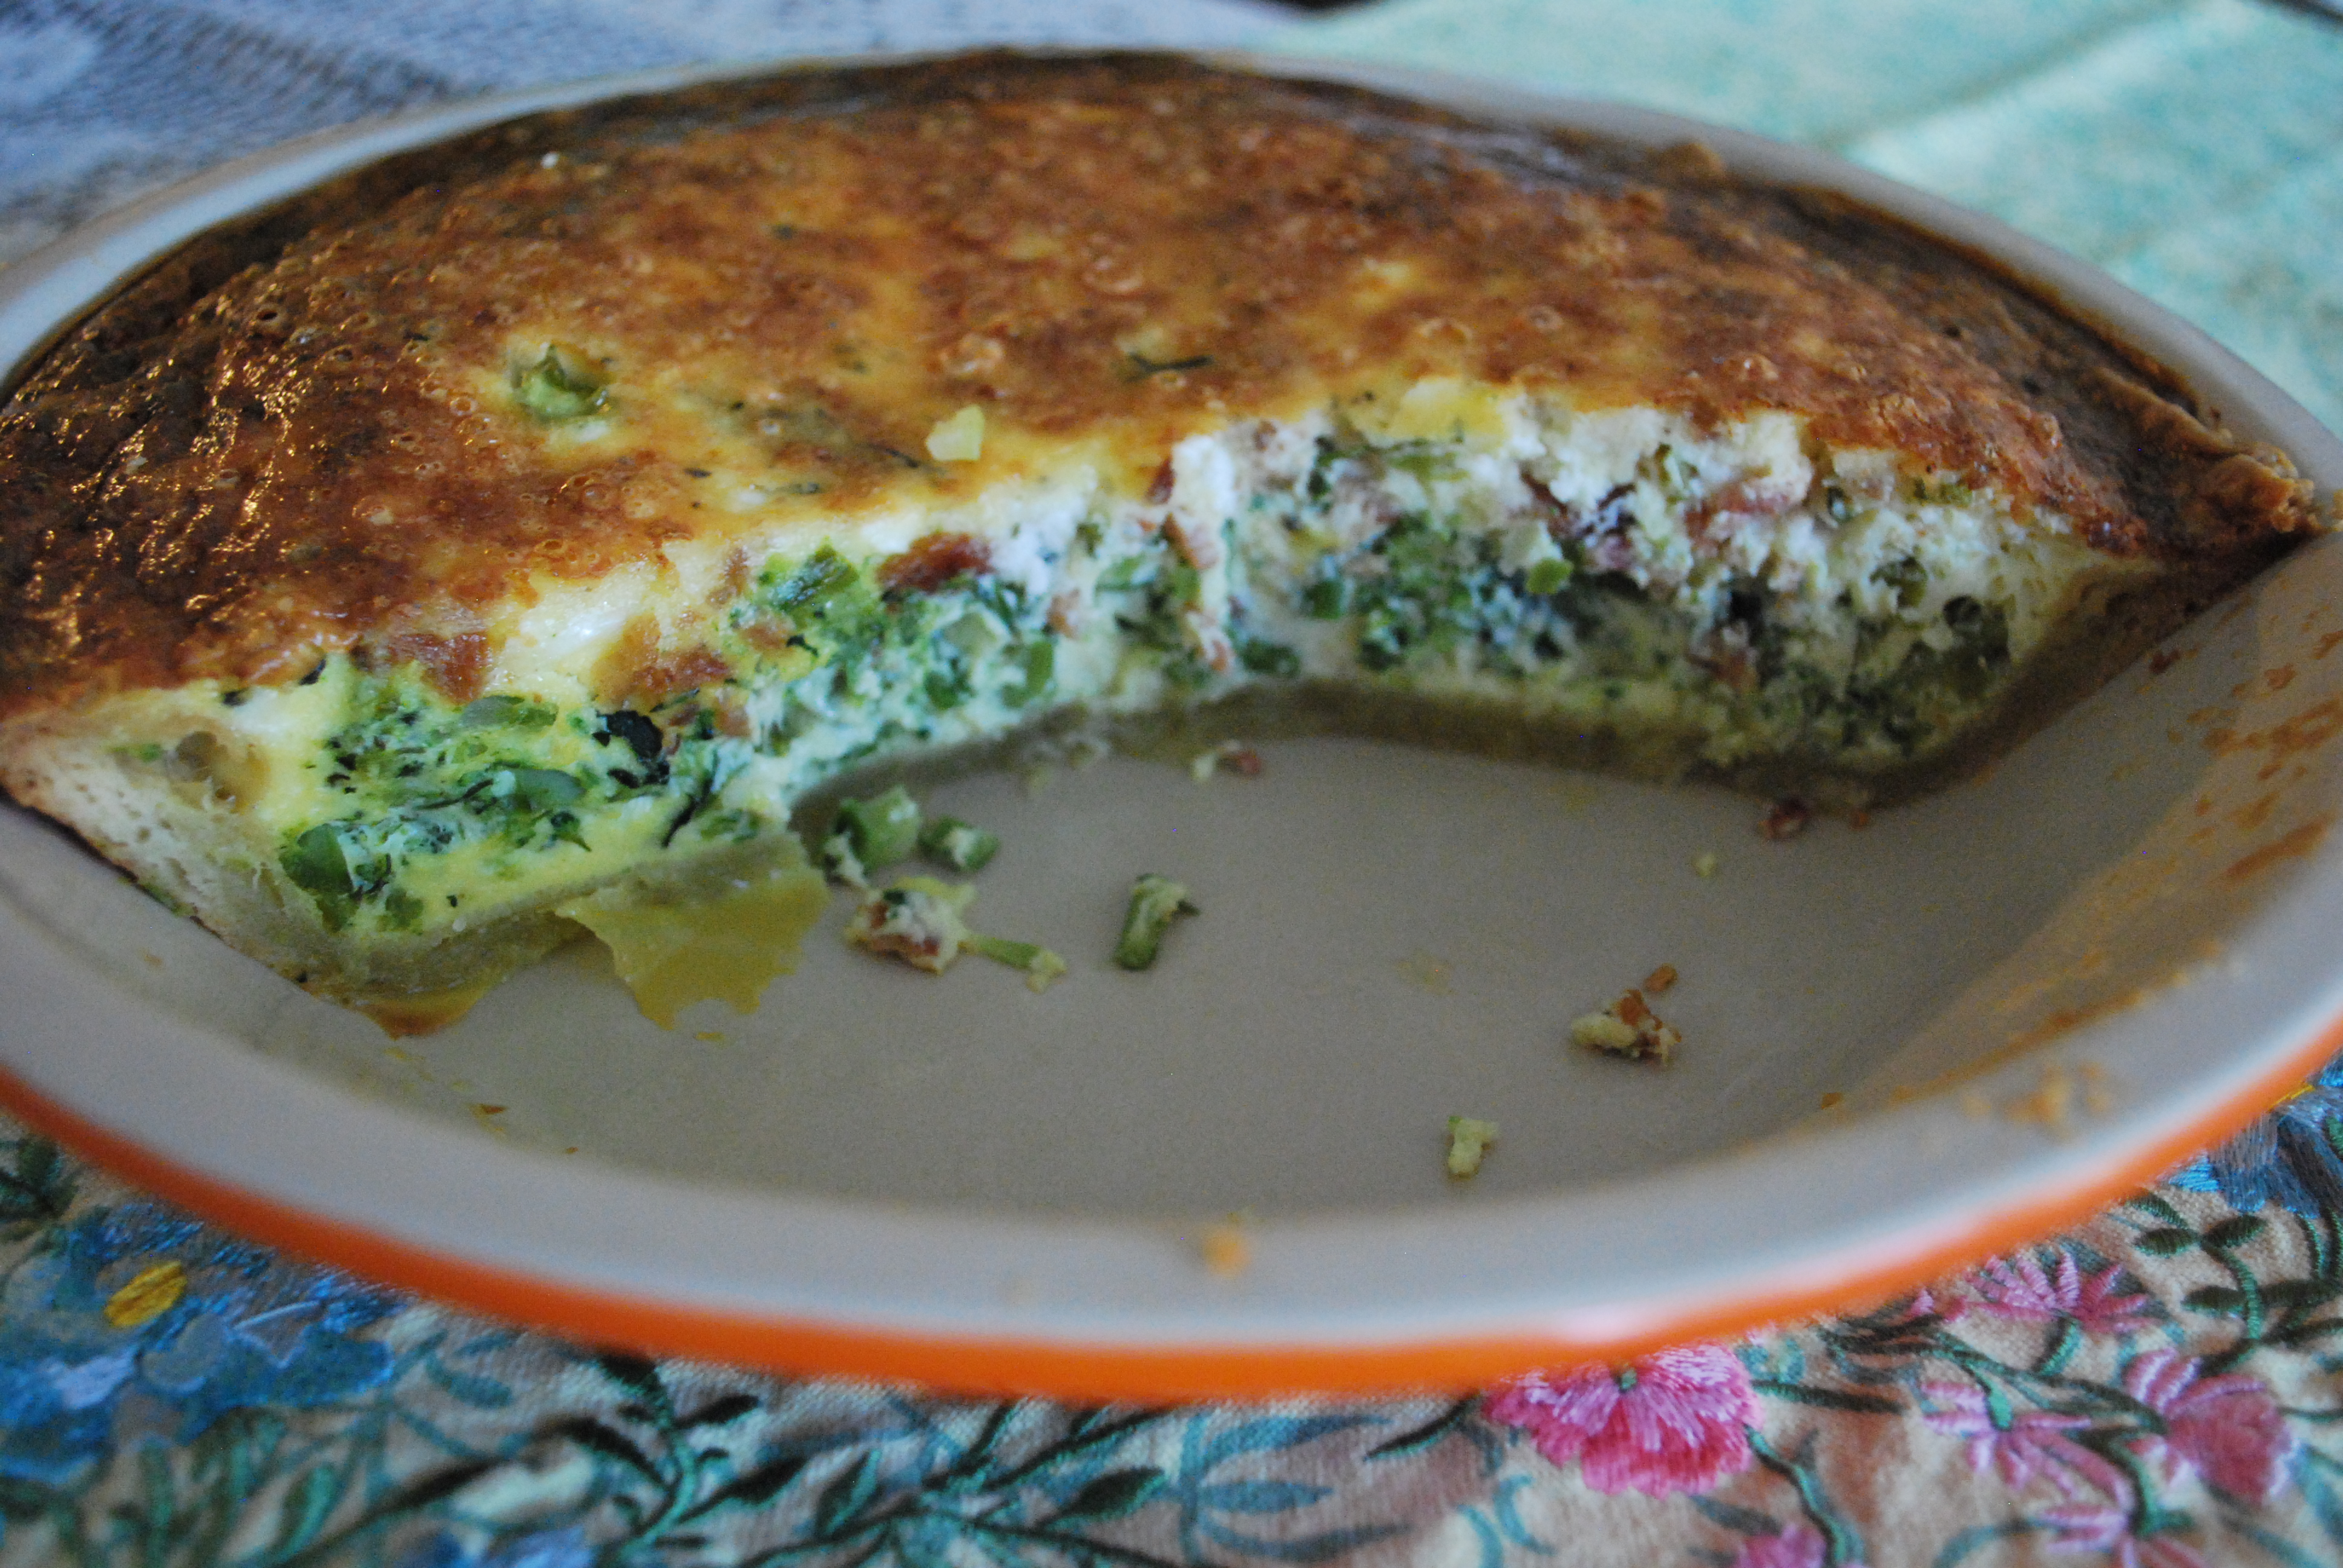
Lazy Sunday is the perfect day for a late breakfast or brunch. And my favorite brunch food is Quiche. The beauty of a Quiche is that you can throw in the kitchen sink, and it always comes out tasting good.
I wanted to bake a quiche using my Mom’s “Empadao”(Brazilian Pot Pie) recipe, but I did not have enough butter for it.
So I chose the Pate Brisée ‘s recipe from Joanne Chang’s Flour cookbook. Pate Brisée is a classic french recipe for pies and tart shells that are very rich,buttery, crisp and delicious. There are many versions, and most use cold water and a food processor. I really like Chang’s recipe which does not have water in it and it is made in the mixer, with the paddle attachment. Chang’s Pate Brisée is very easy to work with and roll out.
Pate Brisée (Quiche Dough)
- 1 c flour, sifted
- 2 tsp granulated sugar
- ½ tsp kosher salt
- 1 c ( 1 stick or 8 Tbsp) cold unsalted butter cut into 8 pieces, plus 1 Tbsp butter
- 1 egg yolk
- 2 Tbsp cold milk
1) Mix the flour, sugar and salt in the mixer with the paddle attachment on low for about 45 seconds. In a bowl, mix together 1 egg yolk and 2 Tbsp cold milk. Add to the mixer and mix altogether on low for about 30 seconds.
2) In an unfloured surfaced place the dough, and with your hands fold and mix until butter is well spread.
3) Make a ball, wrap it in film and leave in the refrigerator for at least 4 hours.This dough is good for 4 days in the fridge or 1 month in the freezer. If frozen, thaw the dough overnight in the refrigerator before using it.

4) When you are ready to use the dough, open and roll(with a rolling pin) the dough in the middle of two plastic films, one in the bottom and another on top. Place in a 9 inch pan, all the way up to the border, to allow for shrinkage.Wrap the pan with the shell in plastic film and leave it in the refrigerator for another 30 to 40 minutes.

5) Remove from the refrigerator and Blind Bake* the shell at 350 F for 35 to 45 min until lightly golden. Let it cool in a rack.
Filling
- 5 eggs
- 1 c whole milk+ ½ c milk (or substitute for creme fraiche, mascarpone, heavy cream or yogurt)
- ½ tsp Himalayan pink salt
- black ground pepper to taste
- freshly ground nutmeg to taste ( I used ¼ tsp)
With a fouet, beat the eggs with the milk, salt, pepper and nutmeg.
Prep
- 4 slices of cooked bacon, chopped
- 1 ½ c cooked baby broccoli with stems, chopped
- 1 cup crumbled feta cheese
- ¾ c Italian truffles cheddar cheese (from Trader Joe’s)
Assemble
1) Remove the pie from oven. Starting with the broccoli, make a layer at the bottom of the pie shell. Place the bacon all around it, on top of the broccoli. Next, the feta cheese, placing the truffle cheddar cheese last.
2) Slowly and carefully pour the egg mixture on top of everything, being careful so the other ingredients inside the pie shell do not move. Place the pie dish in a sheet pan, and inside the 350 F oven for about an hour (depends on your oven). After 30 minutes, check on your quiche and rotate the sheet pan.
3) Check for doneness by inserting a toothpick in the middle. It should come out clean.
4) Remove from the oven and let it cool for about 45 minutes in a cooling rack.
Enjoy!
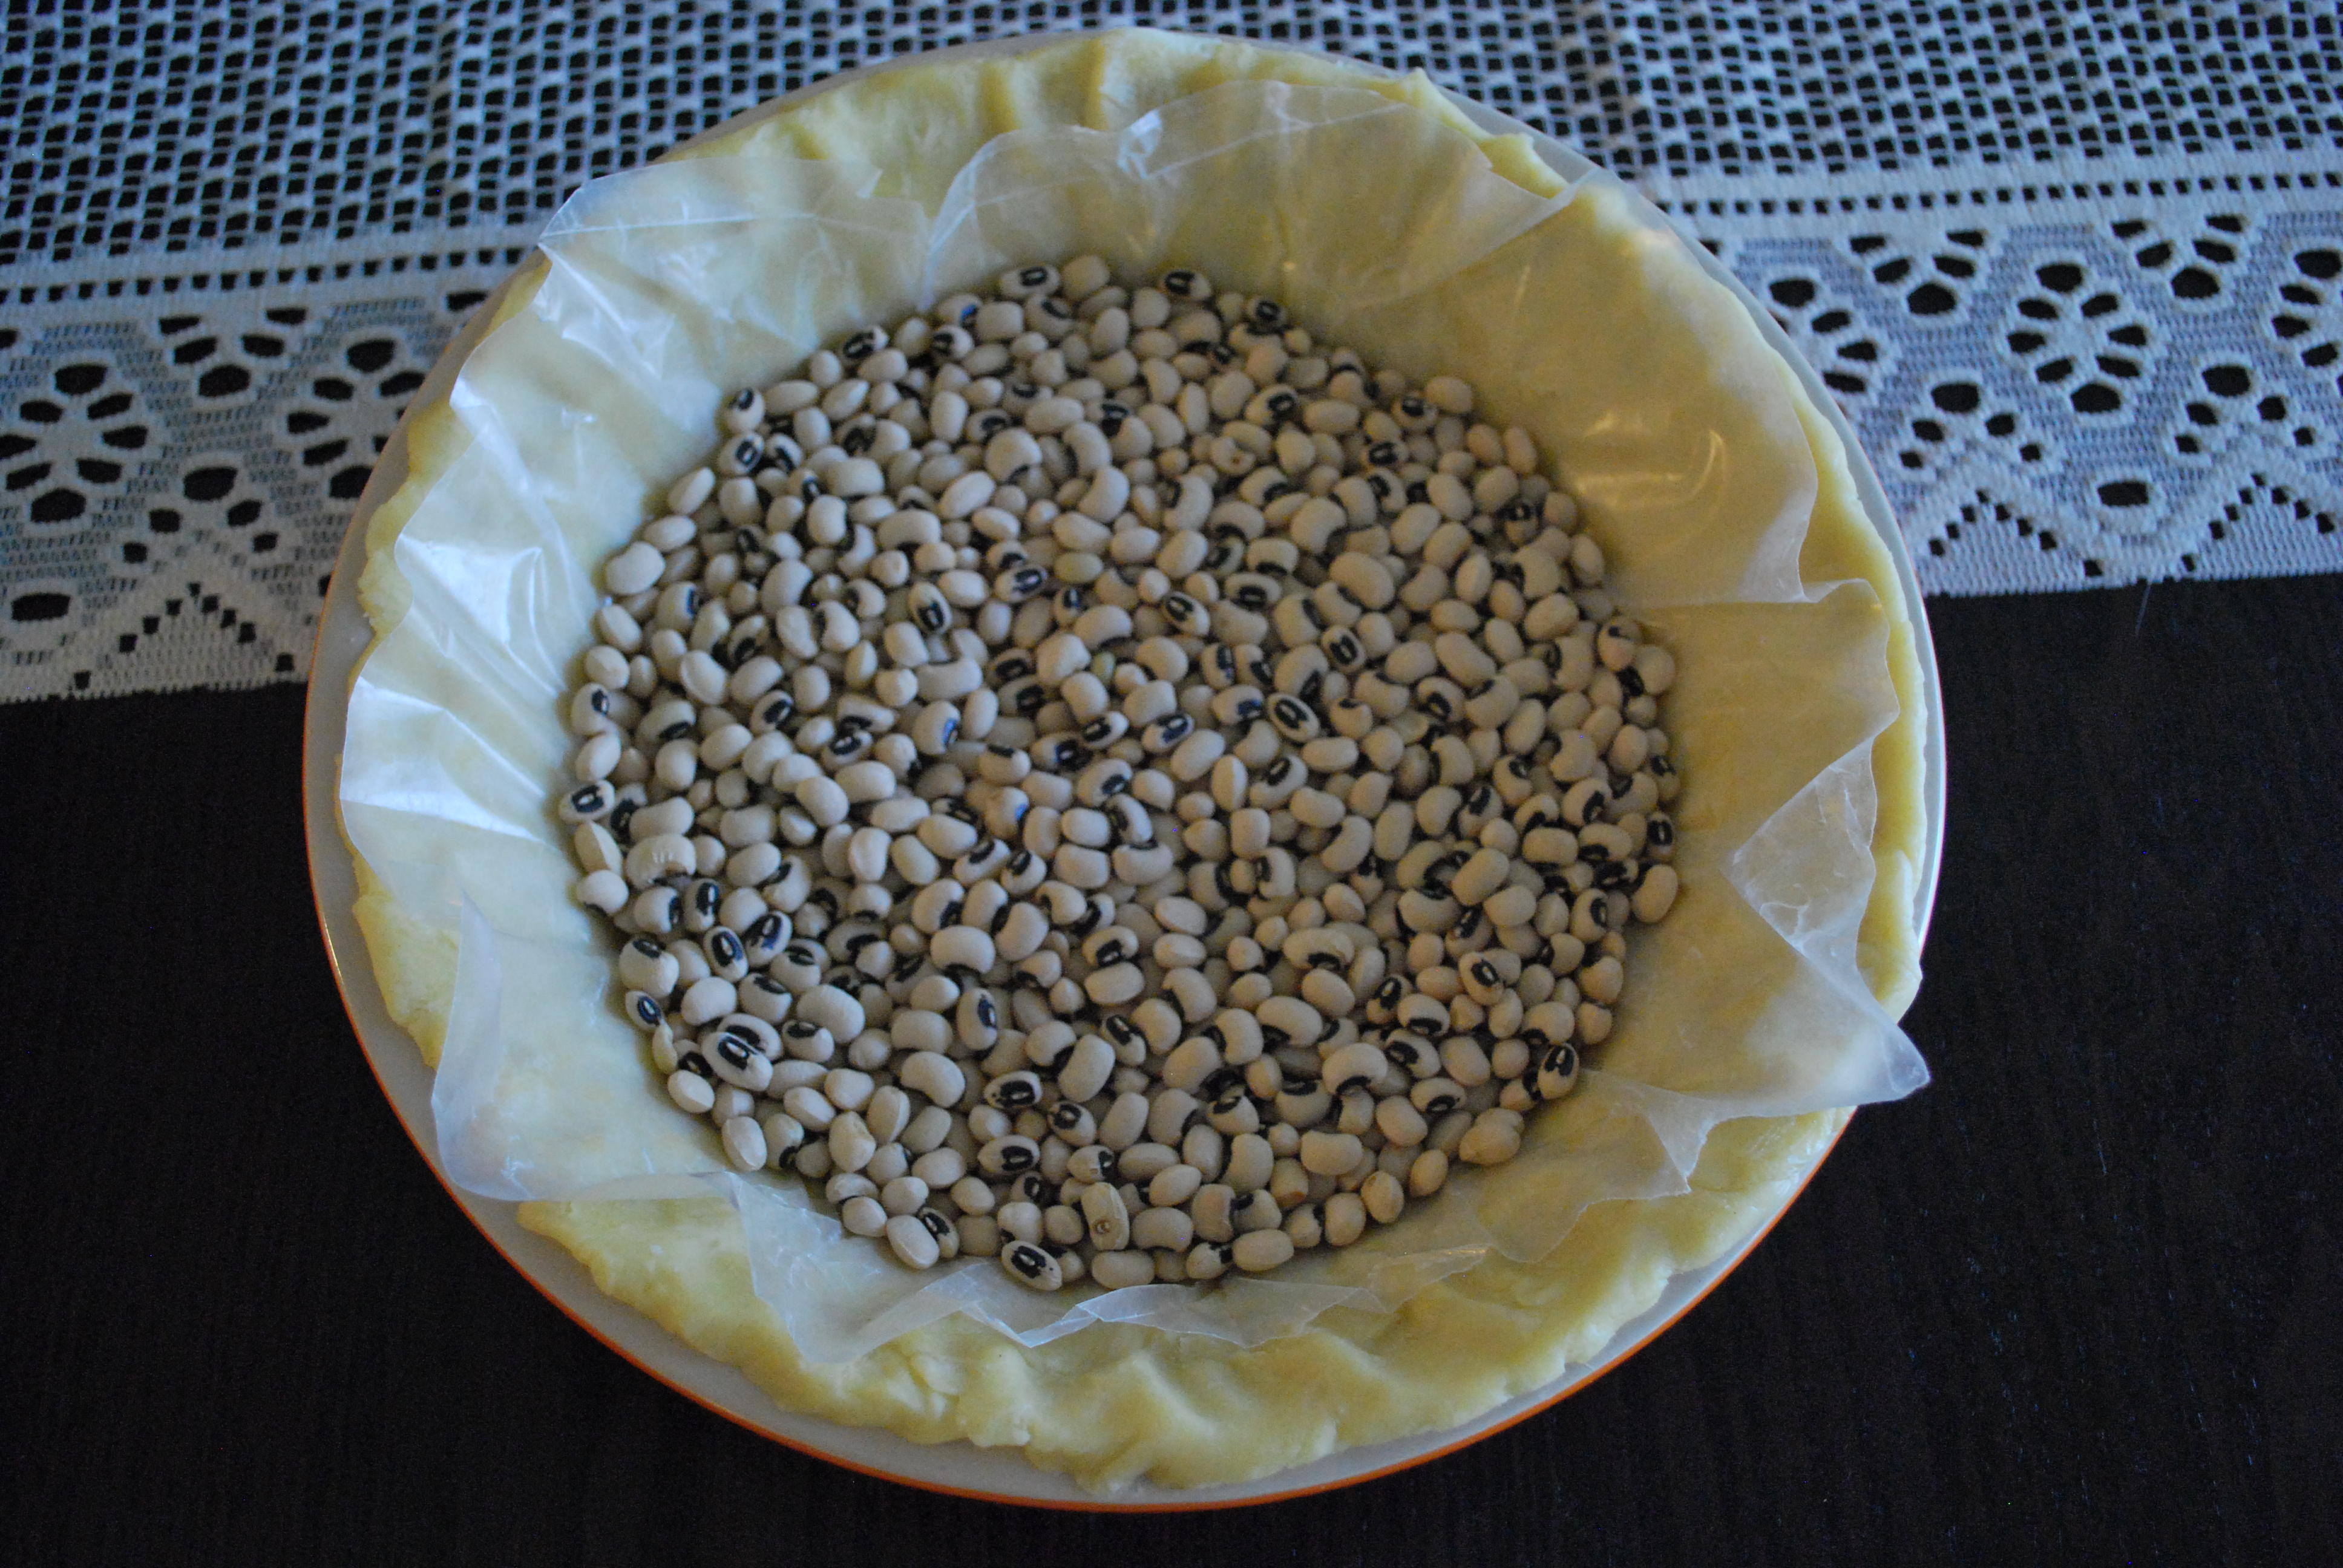
*Blind Baking is a technique used for baking tart and pie shells before they are filled. Depending on the dough, the shell has to be baked first, to prevent it from being underdone, and tasting raw and “flourly”.
In order to avoid the dough from puffing, line the shell with a parchment paper cut out, or coffee filter, and fill with pie weights, or uncooked beans all the way up.To check for doneness lift the paper and if the shell is still shiny is not ready.
If the recipe calls for baking the pie for over 40 minutes after it is filled do not blind bake it all the way. If the recipe calls for a shorter time, blind bake it all the way trough until it is completely done.


